Step 1: Prepare the Baking Dish
Preheat your oven to 350°F (175°C). Lightly grease a 9×9-inch baking dish or a similarly sized oven-safe dish. This ensures easy serving and prevents the filling from sticking.
Step 2: Make the Pumpkin Filling
In a large mixing bowl, combine the pumpkin puree, eggs, granulated sugar, and brown sugar. Whisk until smooth and well blended. Add the evaporated milk (or heavy cream), vanilla extract, cinnamon, nutmeg, ginger, cloves, and salt. Continue whisking until the mixture is silky and evenly spiced.
Pour the pumpkin filling into the prepared baking dish and gently tap it on the counter to release any air bubbles. Set aside while you prepare the topping.
Step 3: Prepare the Crisp Topping
In a separate bowl, mix the rolled oats, flour, brown sugar, cinnamon, and salt. Stir until evenly combined. Pour in the melted butter and mix until the ingredients form a crumbly texture. If using nuts, fold them in at this stage for added crunch and flavor.
Step 4: Assemble the Pumpkin Crisp
Evenly sprinkle the crisp topping over the pumpkin filling. Make sure the topping covers the surface completely, but do not press it down too firmly. This allows the topping to crisp up beautifully as it bakes.
Step 5: Bake
Place the dish in the preheated oven and bake for 45–55 minutes. The Pumpkin Crisp is done when the filling is set around the edges, slightly jiggly in the center, and the topping is golden brown and fragrant.
Remove from the oven and allow the dessert to cool for at least 20 minutes before serving. This resting time helps the filling firm up and makes slicing easier.
Serving and Storage:
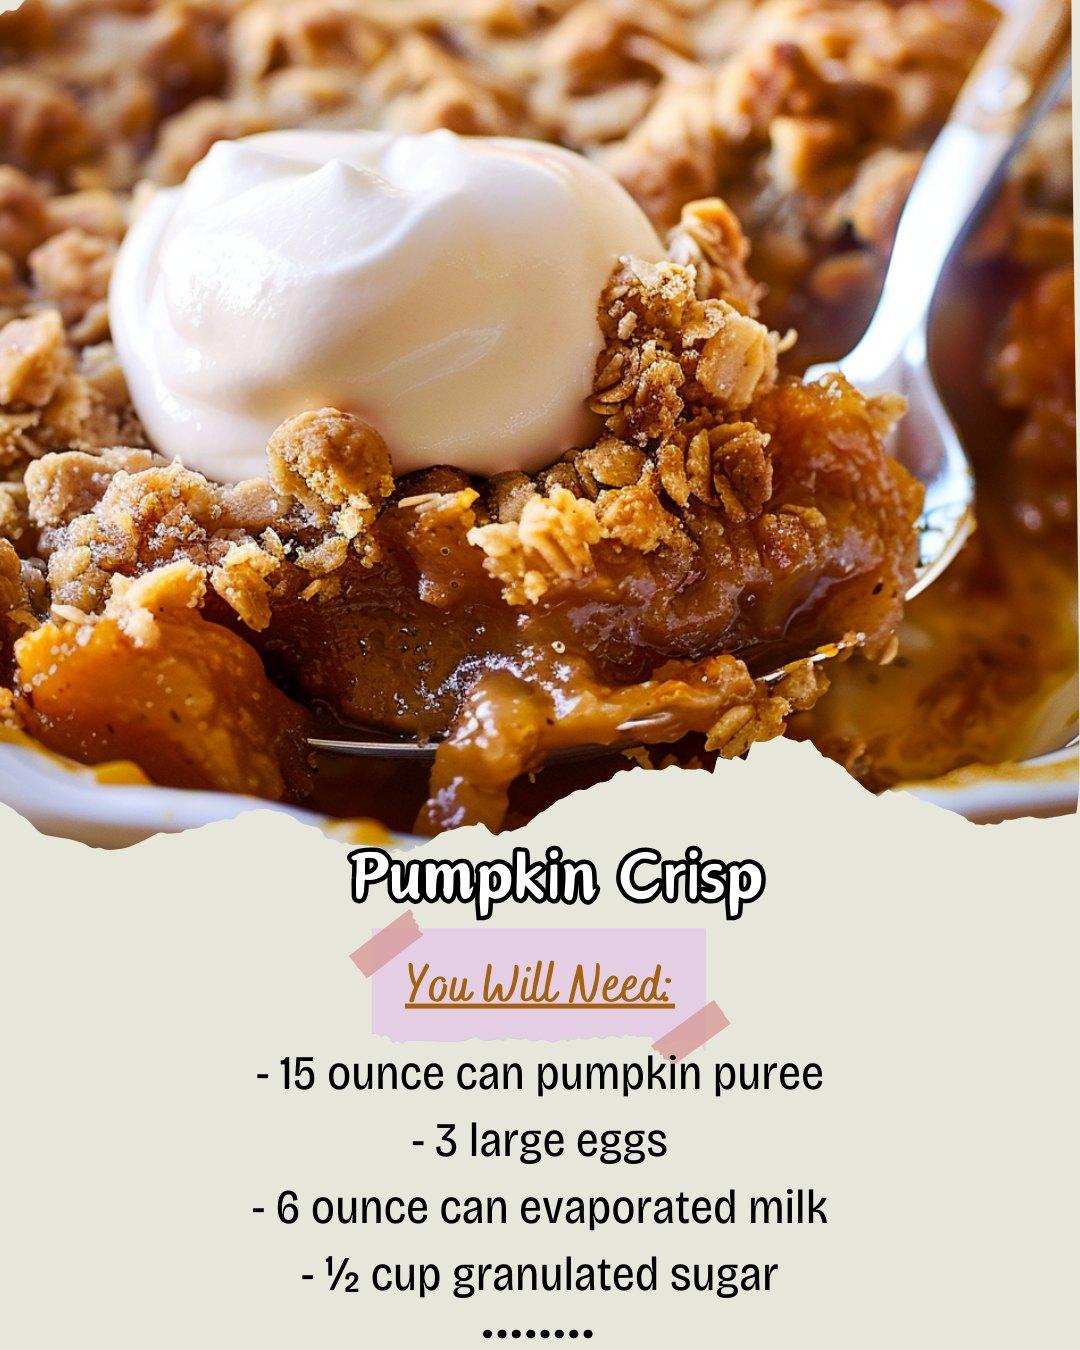
Pumpkin Crisp is best served warm, allowing the spices and pumpkin flavor to fully shine. It pairs wonderfully with a scoop of vanilla ice cream, a dollop of whipped cream, or even a drizzle of caramel sauce for extra indulgence.
For a more casual presentation, serve the crisp straight from the baking dish with a large spoon. This dessert is meant to feel rustic and inviting, making it perfect for family-style gatherings.
To store leftovers, cover the dish tightly with plastic wrap or transfer portions to an airtight container. Refrigerate for up to four days. Reheat individual servings in the microwave or warm the entire dish in the oven at a low temperature until heated through.
Tips:
- Use pure pumpkin puree, not pumpkin pie filling, to control the sweetness and spice level.
- Old-fashioned oats provide the best texture; avoid quick oats, which can become mushy.
- If the topping browns too quickly, loosely cover the dish with foil during the last 10 minutes of baking.
- For a dairy-free version, substitute coconut milk for evaporated milk and use plant-based butter.
- Let the crisp cool slightly before serving to allow the filling to set properly.
Conclusion:
Pumpkin Crisp is a celebration of autumn flavors, blending warmth, comfort, and simplicity into one unforgettable dessert. Its creamy pumpkin base and crunchy oat topping create a balance that appeals to both traditionalists and those looking for something a little different from classic pumpkin pie.
Whether served at a holiday table or enjoyed on a quiet evening at home, this dessert invites you to slow down and savor the season. With easy preparation, flexible ingredients, and crowd-pleasing results, Pumpkin Crisp is a recipe worth returning to year after year.
FAQ:
Can I make Pumpkin Crisp ahead of time?
Yes, you can prepare and bake it a day in advance. Store it in the refrigerator and reheat before serving for best results.
Can I freeze Pumpkin Crisp?
Freezing is possible, but the topping may lose some crispness. For best texture, enjoy it fresh or refrigerated.
What can I use instead of oats?
You can substitute oats with chopped nuts or a mixture of nuts and flour for a different texture.
How do I know when the filling is set?
The edges should be firm, and the center should have a slight wobble but not appear liquid.
Can I adjust the spices?
Absolutely. Feel free to increase or decrease spices based on your personal taste preferences.
