- Prepare the Peanut Butter Filling: In a medium saucepan, melt the butter over low heat until it’s completely melted. Remove from the heat and stir in the creamy peanut butter until smooth and combined.
- Mix in the Powdered Sugar: Add the powdered sugar and vanilla extract to the peanut butter and butter mixture. Stir until everything is fully incorporated and the mixture becomes thick and dough-like. You can use a hand mixer or a wooden spoon to combine the ingredients.
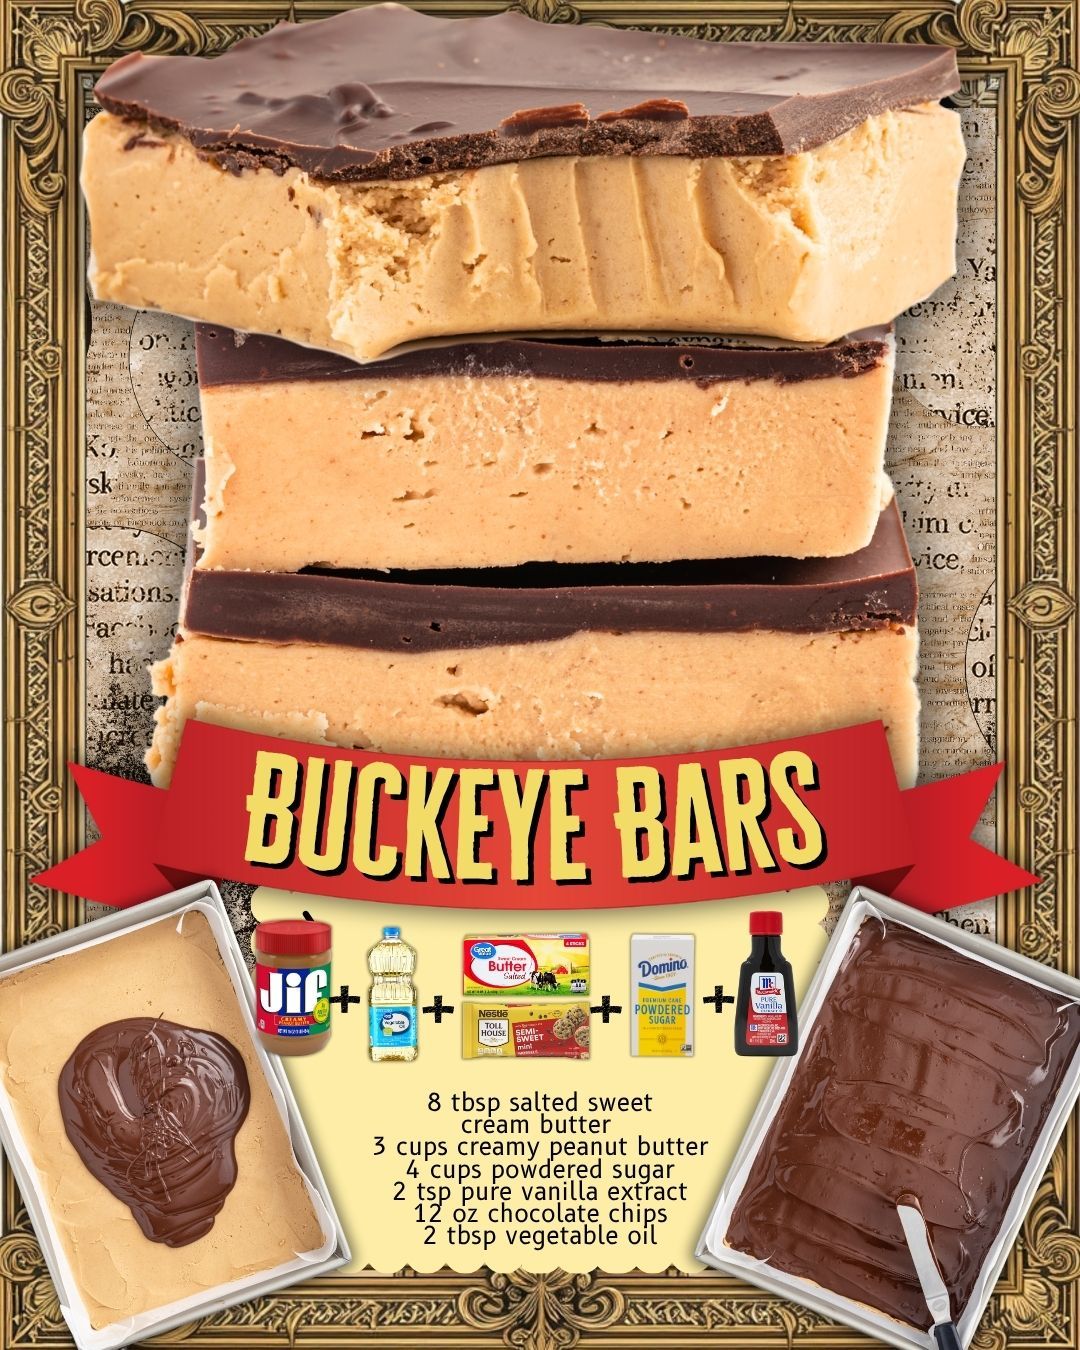
- Press the Peanut Butter Mixture into a Pan: Line a 9×13-inch baking dish with parchment paper or lightly grease it. Press the peanut butter mixture into the bottom of the dish, spreading it evenly with a spatula. Make sure it’s packed tightly so the bars hold together well.
- Make the Chocolate Topping: In a microwave-safe bowl, combine the semi-sweet chocolate chips and vegetable oil. Microwave in 30-second intervals, stirring between each interval, until the chocolate is fully melted and smooth. Be sure not to overheat the chocolate to prevent it from burning.
- Top the Peanut Butter Layer: Pour the melted chocolate over the peanut butter layer, spreading it evenly to cover the entire surface. Use a spatula to smooth it out and ensure that the chocolate layer is even.
- Chill the Bars: Place the baking dish in the refrigerator and let the bars chill for at least 2–3 hours, or until the chocolate topping has set and hardened. For quicker results, you can place them in the freezer for about 1 hour.
- Cut and Serve: Once the bars are fully set, remove them from the fridge or freezer and cut them into squares or rectangles. Serve immediately and enjoy the sweet, creamy, and chocolatey goodness!
Serving and Storage
These Buckeye Bars are perfect for any occasion, and here’s how to serve and store them:
- Serving: Serve the bars chilled or at room temperature for the best texture. They’re perfect for parties, potlucks, or as a special treat for yourself!
- Storage: Store the Buckeye Bars in an airtight container in the refrigerator for up to 1 week. You can also freeze the bars for up to 3 months. To freeze, wrap the bars in plastic wrap and place them in a freezer-safe container. Thaw in the fridge before serving.
Tips
Here are some tips to ensure your Buckeye Bars turn out perfectly every time:
- Use Room Temperature Butter: Be sure to melt the butter first, but don’t overheat it. If the butter is too hot, it may cause the peanut butter to separate. Let it cool slightly before mixing with the peanut butter.
- Chill the Bars Long Enough: The chocolate topping needs time to set properly, so be patient and let the bars chill for a few hours. This will give you clean, neat slices without the chocolate sliding off.
- Make Sure to Press the Peanut Butter Mixture Firmly: Press the peanut butter layer firmly into the pan to ensure the bars hold together well once sliced.
- Use Quality Chocolate: Since the chocolate topping is a major part of the flavor, be sure to use good quality semi-sweet chocolate. If you prefer milk chocolate, that’s fine too—just know it will be sweeter!
Variations
If you want to get creative with your Buckeye Bars, here are some variations to try:
- Peanut Butter Cup Buckeye Bars: Add mini peanut butter cups to the peanut butter layer before pouring the chocolate over it. This adds extra texture and peanut butter flavor!
- Crunchy Buckeye Bars: For a little extra crunch, add some crushed pretzels or rice krispies to the peanut butter mixture. This gives the bars a fun crunch without compromising the creamy texture.
- White Chocolate Topping: Instead of semi-sweet chocolate, use white chocolate chips for a lighter, sweeter topping. This will give your bars a unique flavor and appearance.
- Almond Joy Buckeye Bars: Add shredded coconut and chopped almonds to the peanut butter layer for an almond joy-inspired twist on the classic Buckeye Bars!
Conclusion
Buckeye Bars are a delicious and easy-to-make dessert that’s sure to satisfy your peanut butter and chocolate cravings. With a simple peanut butter filling, a rich chocolate topping, and just a few ingredients, these bars are perfect for any occasion. They’re great for sharing at parties, or you can enjoy them all by yourself—either way, they’re bound to be a hit! With these step-by-step instructions, you’ll be able to whip up a batch of these decadent treats in no time.
FAQ
Can I make these bars ahead of time?
Yes! In fact, they taste even better after chilling for a few hours. You can make them the day before your event, and they’ll be perfectly set and ready to serve.
Can I use crunchy peanut butter?
While creamy peanut butter is traditionally used for its smooth texture, you can use crunchy peanut butter if you prefer a little extra texture in your bars. Just keep in mind that the consistency may change slightly.
How do I cut the bars neatly?
For clean, neat slices
