Preparing Butterfinger Fudge is straightforward, but attention to detail makes all the difference. Follow these steps carefully to achieve a perfectly set, evenly textured fudge.
- Prepare your pan: Line an 8×8-inch square pan with parchment paper, allowing the edges to overhang. This makes removal easy and keeps the fudge intact.
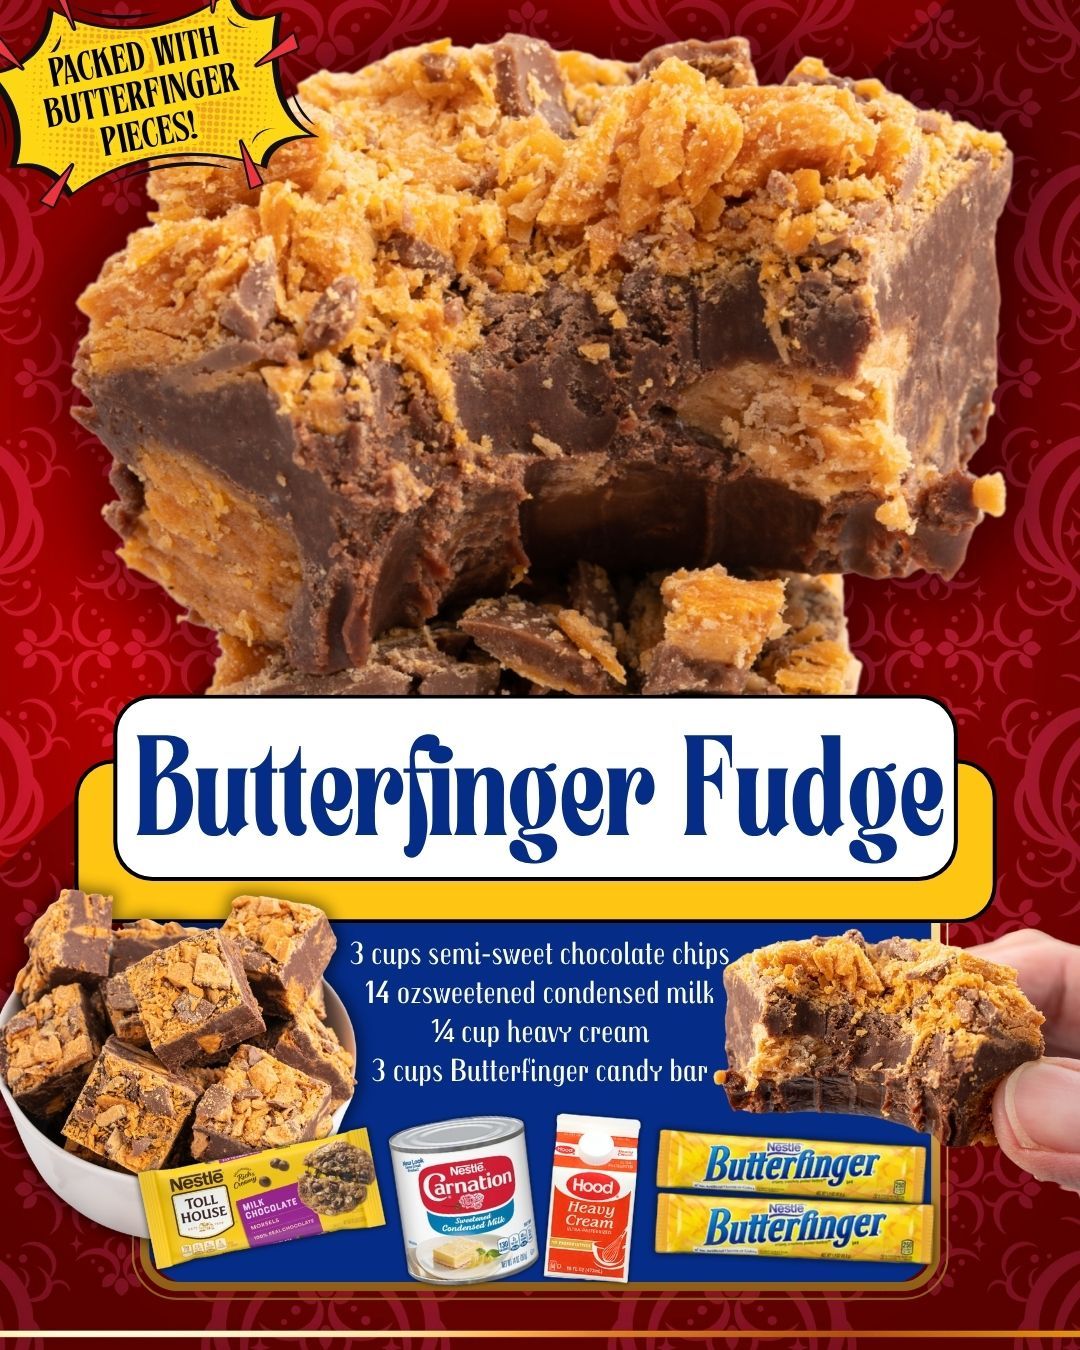
- Melt the chocolate mixture: In a medium saucepan over low heat, combine the semi-sweet chocolate chips, sweetened condensed milk, and heavy cream. Stir constantly to prevent scorching.
- Achieve smooth consistency: Continue stirring until the mixture becomes fully melted and smooth. The texture should be thick, glossy, and uniform.
- Incorporate Butterfinger pieces: Remove the saucepan from heat and gently fold in the chopped Butterfinger candy bars. Stir just enough to distribute evenly without crushing the candy.
- Transfer to pan: Pour the mixture into the prepared pan. Use a spatula to spread it evenly and smooth the top.
- Chill and set: Refrigerate for at least 3 to 4 hours, or until the fudge is fully set and firm to the touch.
- Slice and serve: Once set, lift the fudge out using the parchment paper. Cut into squares with a sharp knife.
The key to success lies in patience. Allowing the fudge adequate time to set ensures clean slices and the perfect bite every time.
Serving and Storage:
Butterfinger Fudge is incredibly versatile when it comes to serving. It can be presented as a casual snack, an elegant dessert, or a thoughtful homemade gift. For a polished presentation, arrange the fudge squares on a decorative platter or place them in cupcake liners for individual servings.
When it comes to storage, proper handling preserves both flavor and texture. Store the fudge in an airtight container to prevent it from absorbing moisture or odors.
- Room temperature: Can be stored for up to 3 days in a cool, dry place.
- Refrigeration: Keeps fresh for up to 2 weeks when tightly sealed.
- Freezing: Fudge can be frozen for up to 3 months. Wrap pieces individually for best results.
Allow refrigerated or frozen fudge to come to room temperature before serving for the best texture and flavor.
Tips:
These expert tips will help you elevate your Butterfinger Fudge and avoid common mistakes:
- Chop Butterfinger bars into small, even pieces to ensure consistent crunch throughout.
- Use low heat when melting chocolate to prevent separation or burning.
- Line your pan carefully to make removal easy and maintain clean edges.
- For extra texture, sprinkle crushed Butterfinger pieces on top before chilling.
- Clean your knife between cuts for professional-looking slices.
Small adjustments and careful handling can transform a simple recipe into a standout dessert.
Conclusion:
Butterfinger Fudge is proof that exceptional desserts do not require complicated techniques or long ingredient lists. With its creamy chocolate base and irresistible candy crunch, this recipe delivers comfort, nostalgia, and indulgence in every bite.
Whether you are a seasoned baker or a beginner in the kitchen, this fudge offers a reliable and rewarding experience. Its adaptability, ease of preparation, and crowd-pleasing flavor make it a must-have recipe for any dessert collection.
By following this detailed guide, you can confidently create Butterfinger Fudge that looks beautiful, tastes incredible, and leaves a lasting impression on anyone who tries it.
FAQ:
Can I use milk chocolate instead of semi-sweet?
Yes, but the fudge will be significantly sweeter. Semi-sweet chocolate provides better balance.
Do I need a candy thermometer?
No. This recipe relies on gentle melting rather than precise temperature control.
Can I make this fudge ahead of time?
Absolutely. Butterfinger Fudge stores well and is ideal for preparing in advance.
Why did my fudge turn grainy?
Graininess often occurs due to overheating. Always melt ingredients slowly over low heat.
Can I double the recipe?
Yes, simply use a larger pan and allow extra time for the fudge to set completely.
