This recipe is made in three stages: preparing the base, cooking the caramel, and finishing with the chocolate topping. Patience during each step will reward you with beautifully layered bars.
- Preheat the oven: Set your oven to 350°F (175°C). Line a rectangular baking pan with parchment paper, leaving an overhang for easy removal.
- Prepare the base: In a large bowl, combine the flour, brown sugar, and salt. Add the cold butter cubes and rub them into the dry ingredients using your fingers or a pastry cutter until the mixture resembles coarse crumbs.
- Form the crust: Press the mixture firmly and evenly into the prepared pan. Bake for 18 to 22 minutes, or until lightly golden. Remove from the oven and set aside.
- Make the caramel: In a saucepan over medium heat, combine the condensed milk, butter, and corn syrup. Stir constantly as the mixture melts and thickens.
- Cook to perfection: Continue cooking and stirring for 8 to 10 minutes, until the caramel turns a rich golden color and thickens. Remove from heat and stir in the vanilla extract.
- Add the caramel layer: Pour the hot caramel evenly over the baked base. Spread gently with a spatula and allow it to cool slightly.
- Melt the chocolate: Melt the chocolate gently using a double boiler or microwave in short intervals, stirring until smooth.
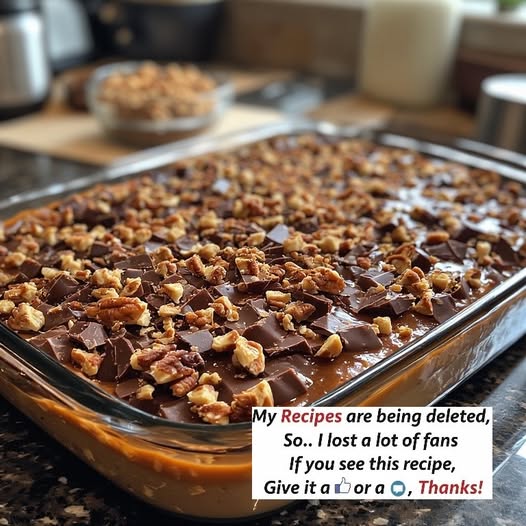
- Finish the topping: Pour the melted chocolate over the caramel layer and spread evenly. Sprinkle with toasted nuts and a pinch of flaky sea salt if desired.
- Set the bars: Allow the bars to cool at room temperature, then refrigerate for at least 1 hour until fully set.
- Slice and serve: Lift the bars out using the parchment paper, slice into squares, and enjoy.
Serving and Storage
Caramel chocolate crunch bars are best served slightly chilled or at room temperature, allowing the layers to maintain their structure while remaining tender. They pair beautifully with coffee, tea, or a glass of milk.
Store the bars in an airtight container at room temperature for up to three days or in the refrigerator for up to one week. If stacking, place parchment paper between layers to prevent sticking.
For longer storage, these bars freeze well. Wrap individual pieces tightly and freeze for up to two months. Thaw in the refrigerator or at room temperature before serving.
Tips:
- Use cold butter for the base to achieve the perfect crumbly texture.
- Stir the caramel constantly to prevent burning or uneven cooking.
- Choose high-quality chocolate for the best flavor and smooth finish.
- Toast the nuts lightly to enhance their natural flavor.
- Allow the bars to fully set before slicing for clean edges.
Conclusion:
Homemade caramel chocolate crunch bars are the ultimate treat for anyone who loves layered desserts with depth and character. Each bite delivers buttery richness, smooth caramel, and a satisfying crunch, making these bars truly unforgettable. While they look impressive, the process is approachable and rewarding, even for home bakers.
Whether you are baking for a celebration, gifting homemade sweets, or simply indulging your sweet tooth, this recipe is one you will want to return to again and again. Once you master these bars, they are sure to become a standout favorite in your dessert collection.
FAQ:
Can I use honey instead of corn syrup?
Yes, honey works well and adds a slightly floral note to the caramel.
What type of chocolate is best?
Dark or semi-sweet chocolate balances the sweetness of the caramel most effectively.
Can I make these bars ahead of time?
Yes, they can be made a day or two in advance and stored in the refrigerator.
Are nuts optional?
Absolutely. You can omit them or substitute with seeds for a nut-free version.
Why is my caramel too soft?
The caramel may need slightly more cooking time. Ensure it thickens and deepens in color before removing from heat.
