Making maple donut bars involves a few key steps: mixing the dough, frying, and glazing the donuts. Follow this step-by-step guide for the best results:
Step 1: Prepare the Donut Dough
In a large mixing bowl, whisk together the flour, baking powder, baking soda, salt, cinnamon, and nutmeg. Set the dry ingredients aside.
In another bowl, whisk the eggs, granulated sugar, and brown sugar together until smooth and well combined. Add in the milk, vanilla extract, and melted butter, mixing until everything is evenly incorporated.
Gradually add the dry ingredients to the wet ingredients, stirring gently until a soft dough forms. Be careful not to overwork the dough, as this can lead to dense donut bars.
Step 2: Shape the Donut Bars
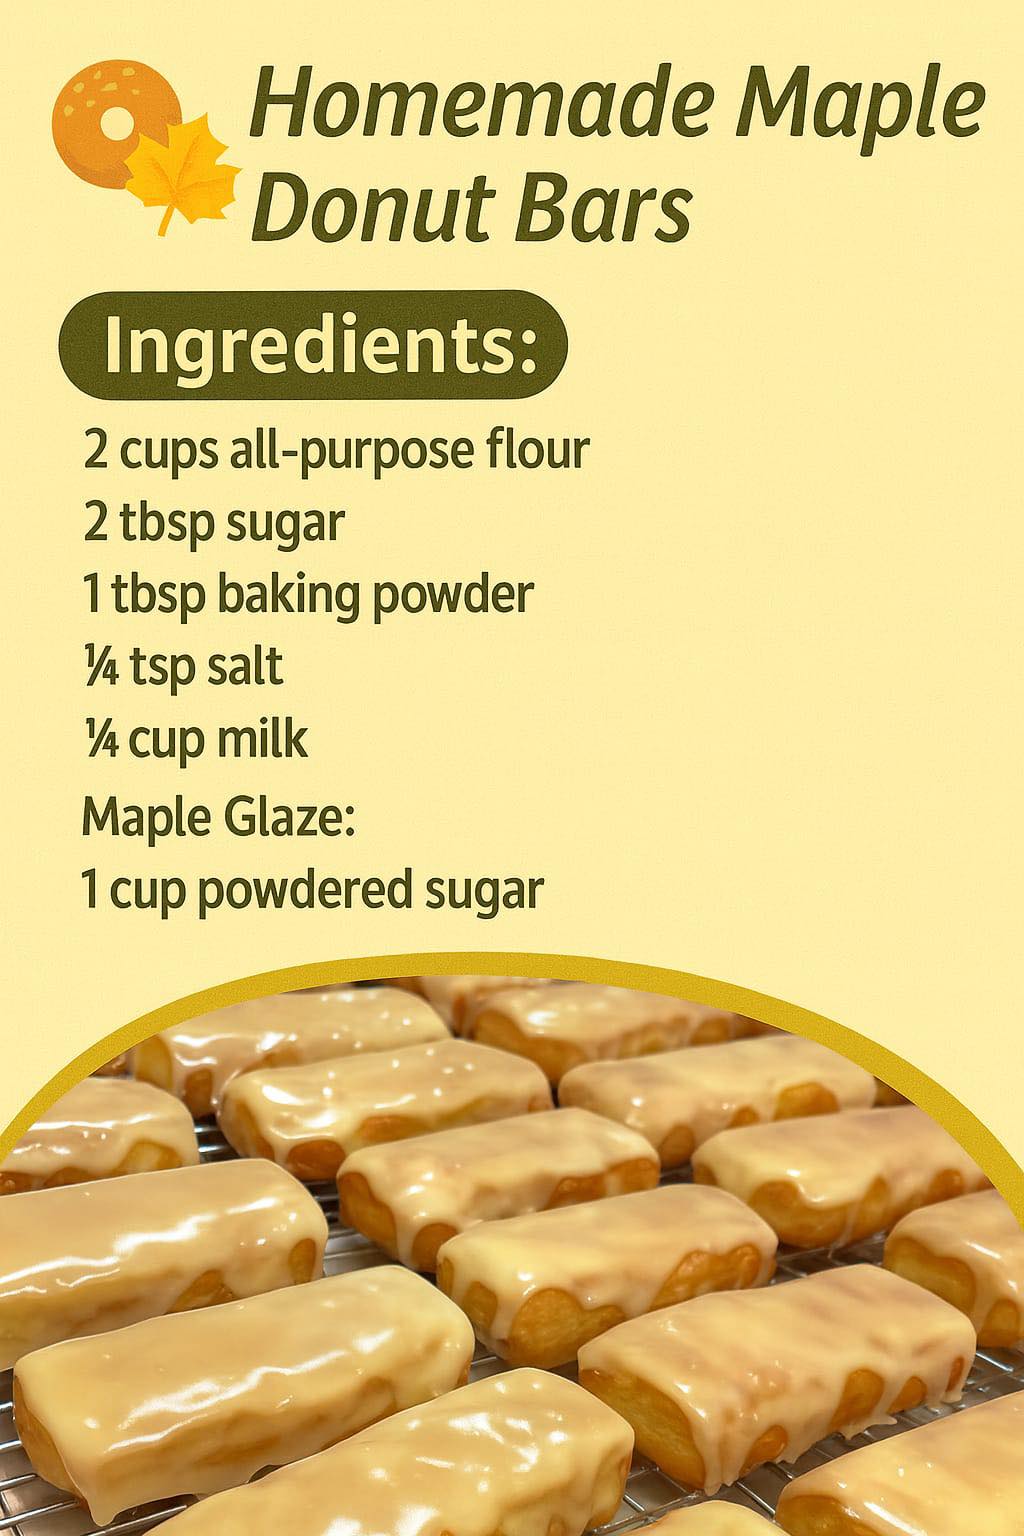
Turn the dough out onto a lightly floured surface. Gently roll the dough out to about 1/2 inch thickness. Using a knife or pizza cutter, cut the dough into long rectangles, roughly 4 inches by 2 inches. These will be your donut bars.
Step 3: Fry the Donut Bars
In a large pot or deep fryer, heat vegetable oil to 350°F (175°C). You’ll need enough oil to fully submerge the donut bars while frying. To test the oil, drop a small piece of dough into the pot — it should sizzle immediately and float to the top.
Carefully lower the donut bars into the hot oil, frying them in batches to avoid overcrowding. Fry each side for about 1-2 minutes, or until golden brown and crisp. Once done, transfer the donut bars to a paper towel-lined plate to drain excess oil.
Step 4: Prepare the Maple Glaze
While the donut bars are frying, make the maple glaze by whisking together the maple syrup, powdered sugar, and a pinch of salt in a small bowl. The glaze should have a smooth, pourable consistency. If it’s too thick, add a little more maple syrup; if it’s too thin, add more powdered sugar until it reaches your desired consistency.
Step 5: Glaze the Donut Bars
Once the donut bars are fried and slightly cooled, dip each one into the maple glaze, ensuring they are fully coated. Let the excess glaze drip off before placing them on a cooling rack or plate to set. The glaze will firm up as it cools, leaving a shiny, sweet finish.
Step 6: Serve and Enjoy
Once the glaze has set, your homemade maple donut bars are ready to serve. These donuts are best enjoyed fresh but can also be stored for later.
Serving and Storage
Homemade maple donut bars are delicious when served fresh and warm, making them perfect for breakfast, brunch, or an afternoon snack. Pair them with a hot cup of coffee or a tall glass of cold milk for the ultimate treat.
If you have leftovers, store the donut bars in an airtight container at room temperature for up to 2 days. If you’d like them to last longer, you can freeze the unglazed donut bars for up to a month. To reheat, simply warm them in the oven at 350°F (175°C) for 5-10 minutes until heated through. After reheating, dip them in the maple glaze to restore that fresh taste.
Tips
- Don’t Overmix the Dough: Overworking the dough can lead to dense donut bars. Mix just until combined for a light, airy texture.
- Keep an Eye on the Oil Temperature: Too hot, and your donut bars will burn; too cold, and they will absorb too much oil. A thermometer will help maintain the perfect frying temperature.
- Glaze Variations: You can customize the glaze by adding a dash of cinnamon, vanilla extract, or even a bit of bourbon for a deeper flavor.
- Make it a Donut Hole Party: If you prefer donut holes over bars, simply roll the dough into small balls and fry them the same way.
- Chill the Dough: For a slightly firmer dough that’s easier to work with, you can chill the dough in the fridge for 30 minutes before rolling it out.
Conclusion
Homemade maple donut bars are an easy-to-make, delicious treat that combines the nostalgic flavor of donuts with the rich sweetness of maple syrup. With a few simple ingredients, a bit of frying, and a drizzle of homemade glaze, you can enjoy this scrumptious breakfast or dessert at home. Whether you make them for yourself or share them with loved ones, these maple donut bars are sure to impress with their perfect balance of flavor and texture. So why wait? Gather your ingredients, follow the steps, and treat yourself to these irresistible homemade delights!
Frequently Asked Questions (FAQ)
Can I make these donut bars ahead of time?
Yes, you can fry the donut bars in advance and store them without the glaze. When you’re ready to serve, simply reheat them in the oven and glaze them just before serving for the freshest taste.
Can I use a different type of flour?
For a gluten-free option, you can substitute the all-purpose flour with a gluten-free flour blend. However, this might slightly alter the texture of the donut bars.
Can I bake these donut bars instead of frying them?
Yes, if you prefer baking over frying, you can place the donut bars on a baking sheet and bake them at 375°F (190°C) for about 10-12 minutes or until golden. Keep in mind, they will have a slightly different texture than fried donut bars.
How can I make the glaze thicker or thinner?
If you want a thicker glaze
